After you followed the publishing instruction in the admin area dashboard (Check publishing instructions here) and you went through your Vibracart control panel as described here. You are ready to create your first product.
Go to the admin area of your published website and navigate to Store > Add Product
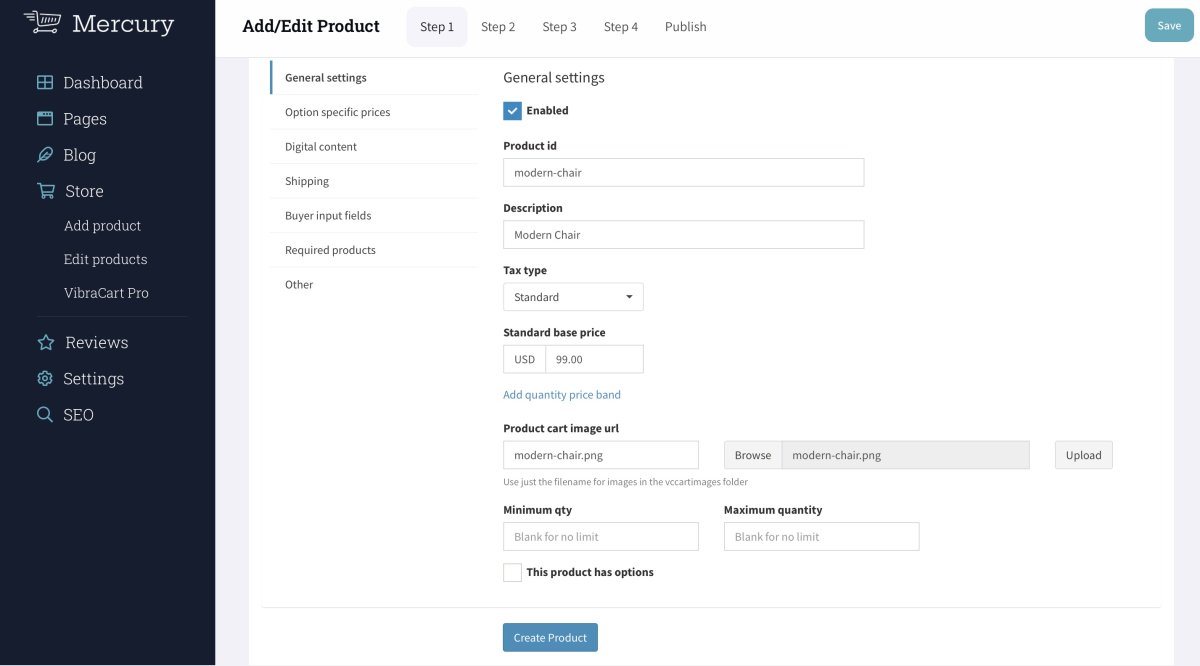
Step 1 (Add VCP Cart Details)
Start filling in the information in this section.There is also a sidebar where you can fill in options and other details but lets keep it simple for this walkthrough.
- Product ID/SKU: Consider this field as a SKU, its a mandatory field and it is used through the entire e-commerce system. You must enter values without spaces, for example modern-chair-123. Consider that the value you enter here will also be displayed in your product list so make sure it's something you can easily recognize.
- Product Title: This value will be displayed when a product gets added to the cart. For Example Modern Chair. This value will also be passed
- Standard base price: Enter the price of your product using a dot as a decimal symbol, for example 99.00
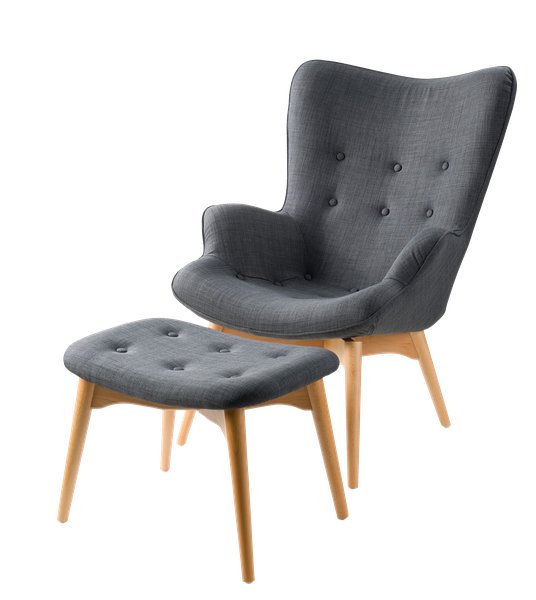
- Product cart image url: This image will be displayed in the cart the you add this product to it. Click the Browse button to find the desired image in your computer choose it and click the upload button.
- Click Create Product
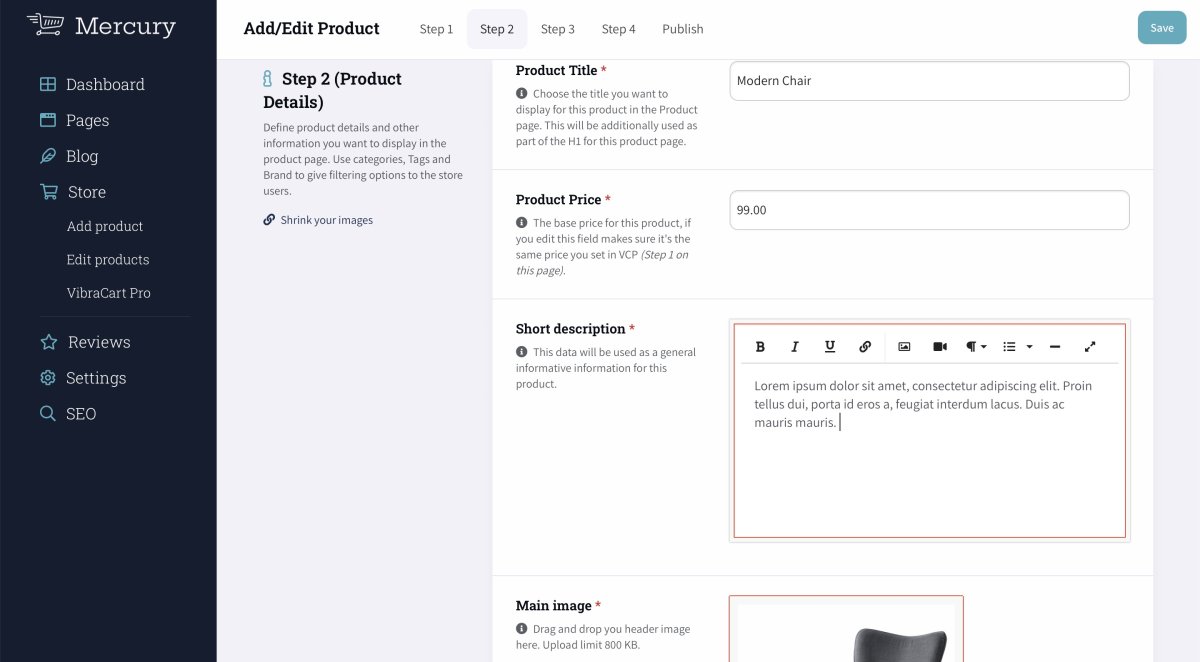
Step 2 (Product details)
Once you click on "Save & Go to step 2 button" VCP dashboard will be collapsed and you can move to step 2. You will see some fields have already been pre-filled with the data you entered in the previous step. We recommend to keep the price the same as in Step 1, while you can edit the Product title to your liking.
- Follow the help text below each voice to better understand how those fields work
- Upload again your main product image. It's better if it's the same image you uploaded in step 1.
- All fields are necessary!
Step 3 (Product Description)
Enter the full product description where you can add formatted text, videos even broshure or other PDF or files to download. If you have other images you want to display in your product page feel free to add them to the image gallery
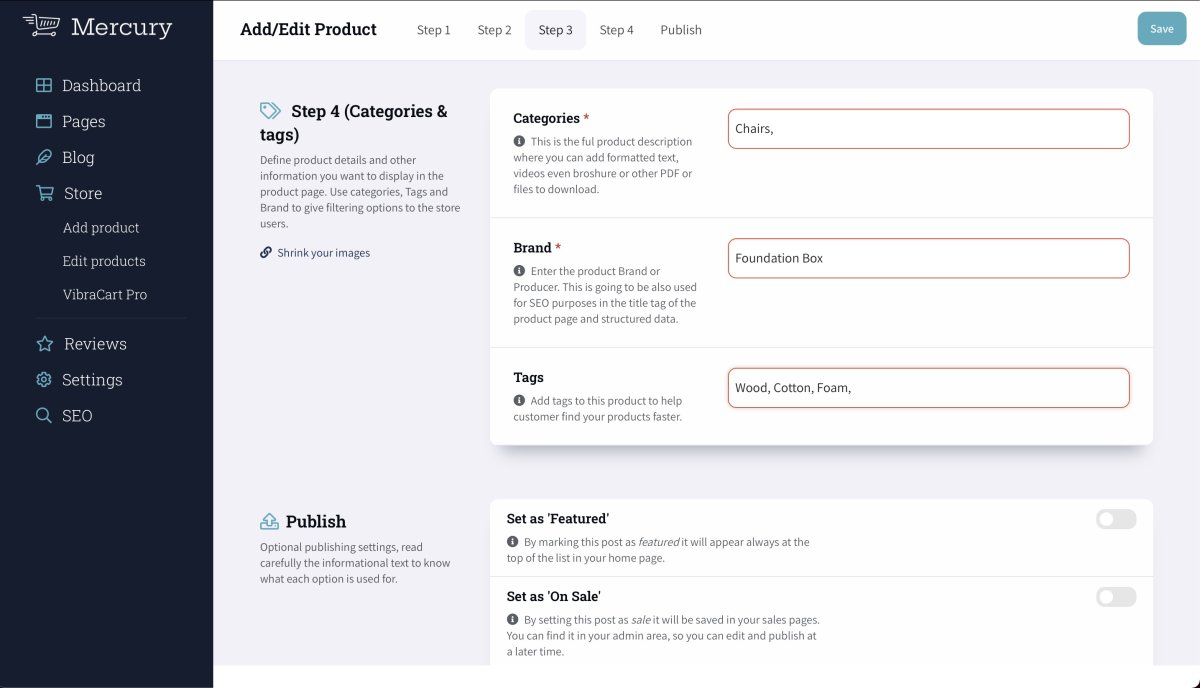
Step 4 (Categories & tags)
Make sure you enter Categories, Brand and Tags to your products. This will help your customers to better navigate your store.
Some of this information will also be used for the SEO of this page.
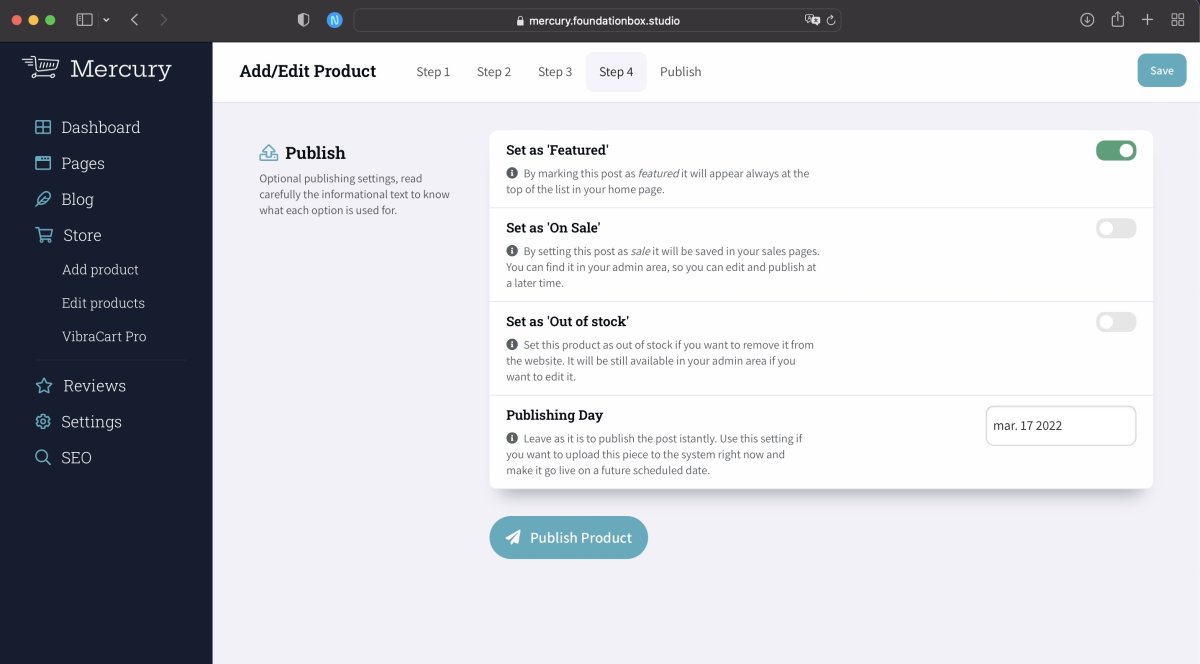
Publish
You have a few last options before publishing your article. Read the help text below each item to understand better what they are for.
Hit the publish button and you are done!
That's it?
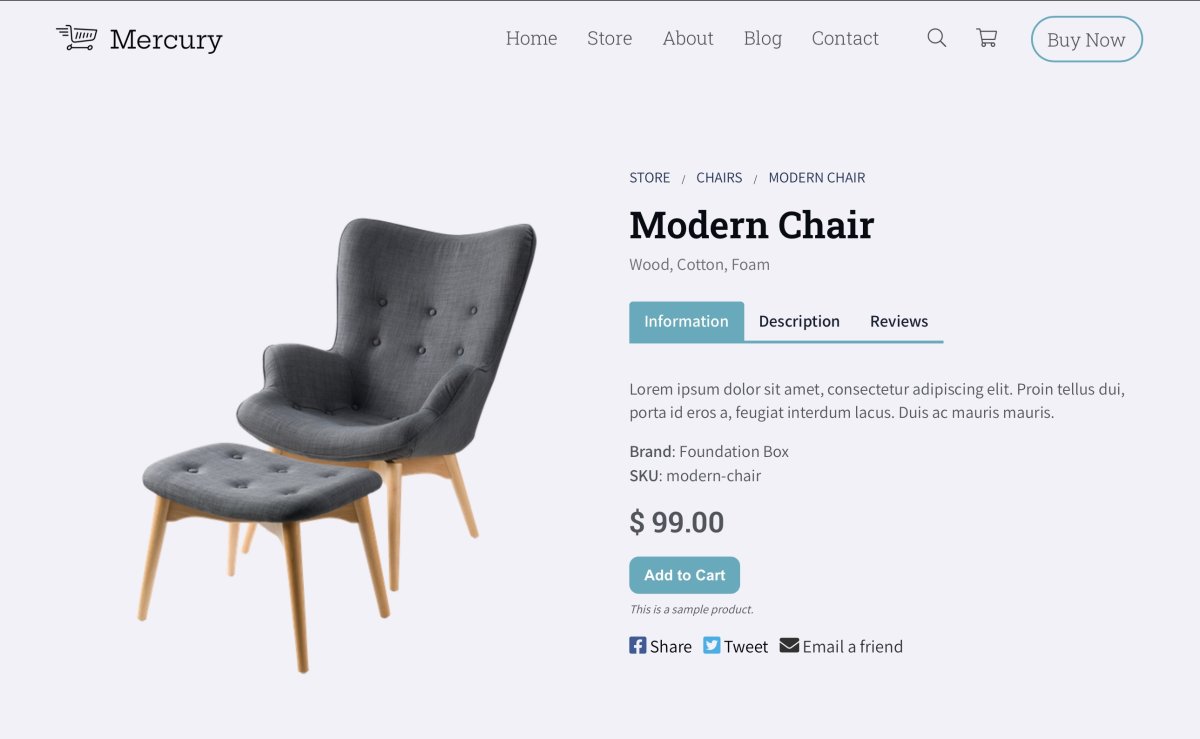
Yeah! you have successfully created a new product on your store if you want to see the product we have just uploaded here is what we just published on Mercury Demo website.