Vibracart Pro (VCP) is a powerful software by Vibralogix (Also known for developing and supporting Sitelok) that we can use for our e-commerce websites. VCP is integrated into Mercury through the Vibracart Pro Stacks included with the project file. Once you have published your project file following the instructions in your admin area page (View Mercury publishing instructions here) you can then follow this dashboard setup guide.
Please note that Vibracart Pro has an excellent user-friendly manual you can go through to know the full potential of this platform. This is just a tutorial to help you get your entire e-commerce system functional and efficient.
How to access the VCP Control Panel?
Now that your copy of Mercury is published in your server you can access the VCP control panel from your website admin area located at https://yourdomain.com/admin/ .
Login with the password letmein and you will find yourself in your website admin area. In the sidebar click on Store > Vibracart Pro to open the VCP Dashboard.
Since The single sign-on with page safe option is still not enabled in VCP you will be required to enter the default credential to enter VCP dashboard for the first time.
ACCESS CREDENTIALS
User: admin
Password: letmein
Follow this guide to turn on Single Sign-in with Page Safe option
First Dashboard Impression
This is the VCP Dashboard where all your order will be listed. You will notice the layout of the admin area is similar to the one built with Total CMS. It is important to understand that those are two different admin areas. The TCMS Admin area controls all your website content including store products and how they are displayed in your website, the VCP Admin Area (let's call it cPanel) deals with the e-commerce features like orders, payments, invoices, digital downloads,...
First Configuration
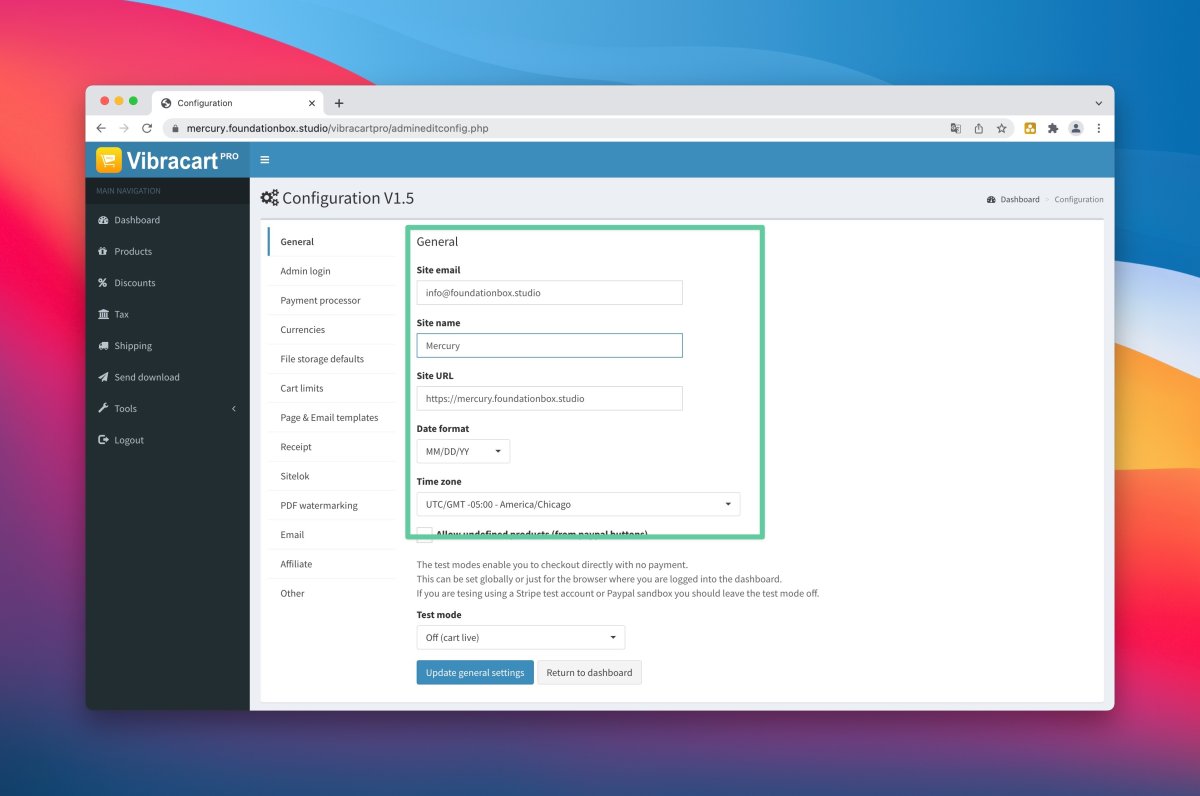
Navigate to the Tool > Configuration Menu Item and enter your website information in the General tab. Remember to click on Update General Settings Botton to save your edits.
Payment Processor
In Tool > Configuration > Payment Processor you will find all the settings to connect Stripe and Paypal to your e-commerce website. If you need help retrieving the information needed from Stripe and Paypalcheck the VCP manual for a detailed guide.
Other - Login with Page Safe
This feature allows you to login into VCP and TCMS admin areas with one single login.
This Login with page safe feature is fully documented in this article, you will need Page Safe stacks for this to work.
- Navigate to Tools > Configuration > Other
- Scroll to the end of the page and check the Allow Page Safe login access to dashboard box
- Enter `pagesafe` as Page Safe ID
- Save changes
Admin Login
In Tool > Configuration > Admin Login you can edit your password to a different value. This is highly recommended to avoid having people hacking into your admin area. As a piece of mind you can use the same password for your Page Safe or Protect stack.
Some servers won't allow you to send with PHP mail function and would require you to enter your SMTP data into VCP to be able to send order confirmation emails. You can do so by going to Tools > Configuration > Email
Make also sure you are using an email with the same domain of your website. You won't be able to set this up with emails from different domain names (such as yourcompany@gmail.com). Make also sure you use that same email account you entered in Tools > Configuration > General settings
Cart Style
This is to make sure VCP cart takes the style set into the Mercury Project file.
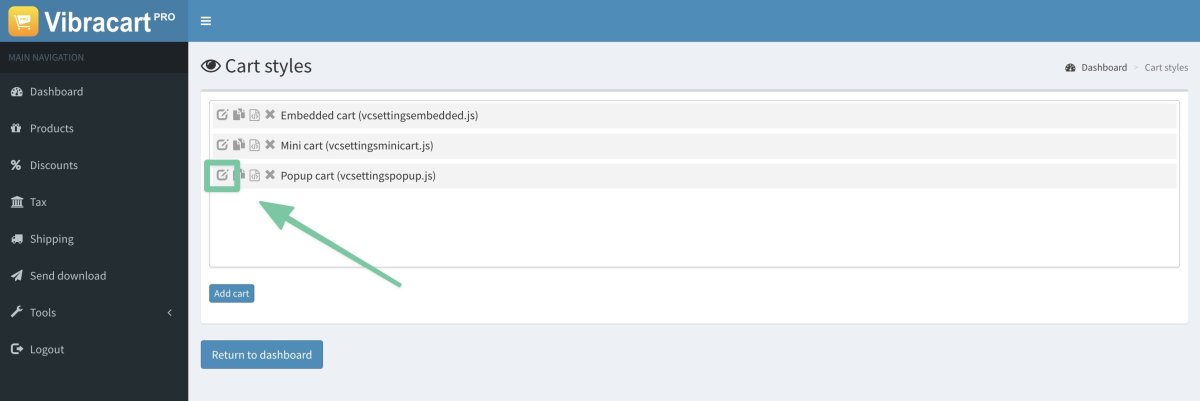
- Navigate to Tools > Cart Style
- Click on the edit icon (The first icon) of the Pop up cart item (Usually the third item) as shown in the picture
In this area you can edit different data of your cart including button text and style. Remember that the style of the cart is done by Foundation 6 so better not to temper with Colors and Sizes.
- Navigate to the Cart color & style tab and check the checkbox at the top of the page that says Use styles from CSS files only.
- Navigate to the Other Settings tab and check the checkbox as in the following picture to have the same result of this demo website.
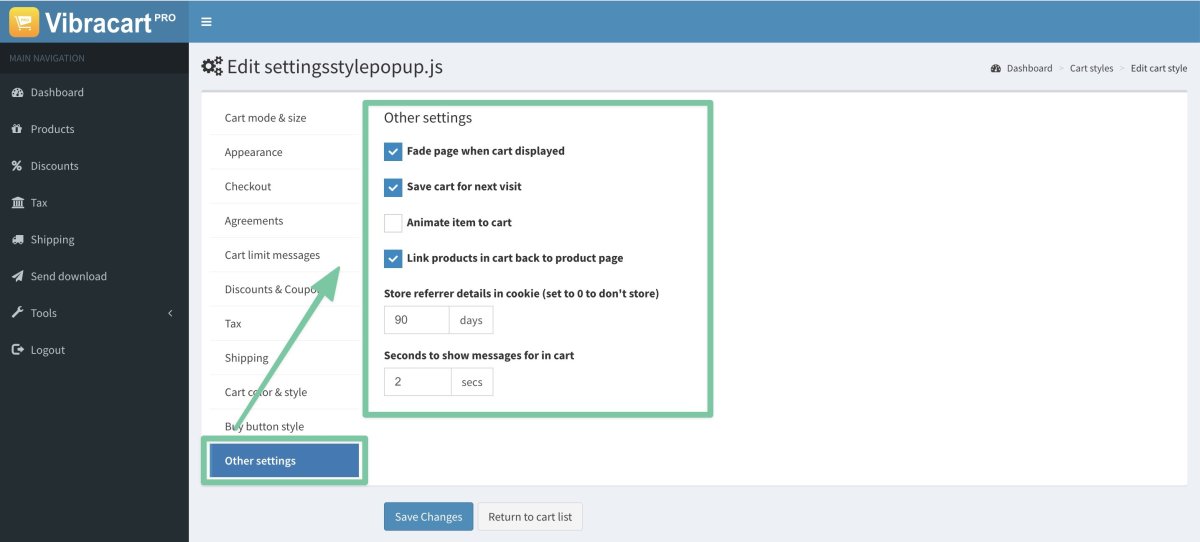
REMEMBER TO SAVE CHANGES